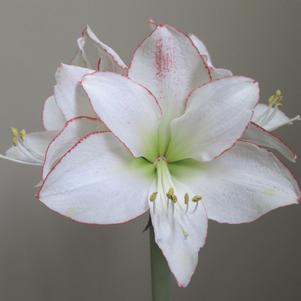
Hippeastrum Holland Amaryllis 'Picotee Petticoat'
Pre-Order for Fall 2025
Crocus 'Orange Monarch'
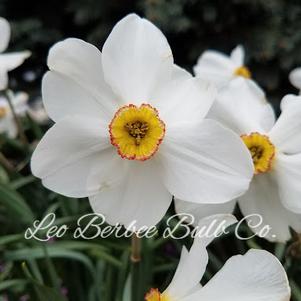
Daffodil Poeticus 'Actaea'