Hippeastrum Southern Hemisphere 'Amadeus'
Christmas Forcing Amaryllis - Pre-Order for Fall 2025
Crocus Vernus 'Mixed'
Pre-Order for Fall 2025
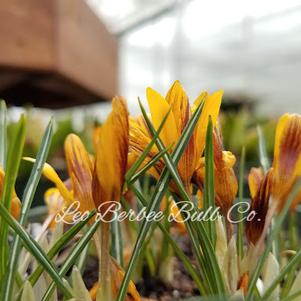
Crocus 'Orange Monarch'