Pre-Order for Fall 2025
Pre-Order for Fall 2025
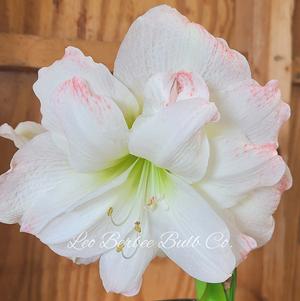
Hippeastrum Southern Hemisphere 'Amadeus'
Christmas Forcing Amaryllis - Pre-Order for Fall 2025

Pre-Order for Fall 2025
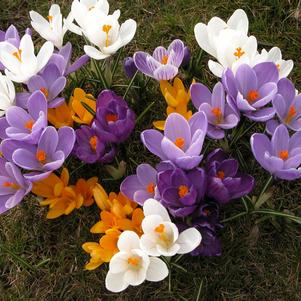
We carry 139 plants that match your search request. We've included all matches below. Click on any plant to learn additional details.
")
")
")
")
")
")
")
")


